How to Roll A Joint: Step by Step

If you’re a beginner cannabis user, then the idea of rolling a joint may seem challenging at first, especially if you see the experts roll up a perfect one within seconds. But all it takes is the right technique and practice to master this skill. Keep reading to learn the easiest way to roll a joint.
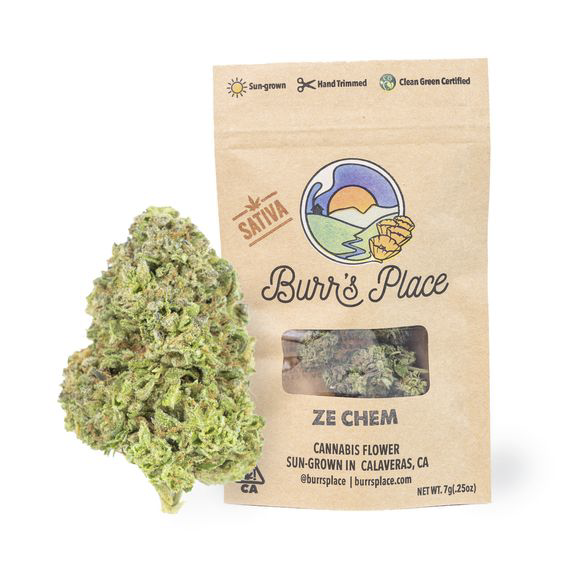
Supplies You’ll Need – Cannabis flower, rolling paper, grinder, crutch.
Step 1: Grind the Flower
If you want to learn how to roll a joint step by step, then the first order of business is to grind the flower evenly. A consistent texture not only makes it easier to fill and roll the paper but also ensures that your joint will burn smoothly all the way through.
Step 2: Set Up the Paper and Crutch
A crutch adds more stability to the joint during the rolling process and prevents burns while smoking. Get a pre-made crutch or make your own by rolling a piece of hard paper. Place the middle of the crutch at the end of the paper and hold it in a U shape.
Step 3: Fill the Paper
Filling the paper is the easiest part of learning how to roll a joint step by step. Simply add 0.5gm to 1gm of the ground flower inside the paper and spread it out evenly. Don’t worry if it doesn’t seem like enough, you can always add more after you’ve rolled and sealed the joint.
Step 4: Roll the Joint
Pinching the paper at the crutch is the easiest way to roll a joint. Slowly roll it into a cylindrical or slightly conical shape. Ensure that the fit is snug along the crutch and that the adhesive-coated side of the paper is at the end of the roll.
Step 5: Seal the Side
Using the crutch end of the joint as your guide, lick the adhesive end lightly and then tightly seal the joint. Make sure it’s neither too wet nor too dry. This might take some practice to nail down.
Step 6: Pack and Enjoy
The final step in learning how to roll a joint step by step is to tightly pack in the joint using either your fingers or a pencil. After that just twist the end to seal it and enjoy your joint!
![Oasis Mints: Naked Prerolls [14pk]](https://lofidelivery.com/wp-content/uploads/2024/03/Oasis-Mints-Naked-Prerolls-14pk-1.jpg)